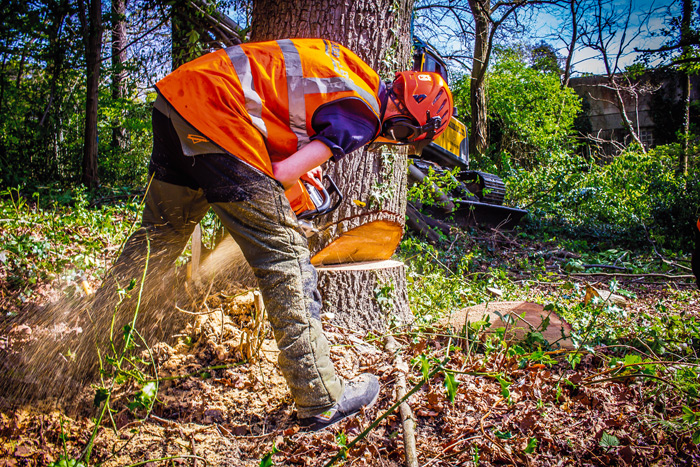
There are many things to consider when you want to cut down a tree; how to do it safely, how to ensure there isn’t a TPO (Tree Preservation Order) in place, how to ensure it won’t impact the surrounding area and much more. Luckily, Rock Tree Surgeons are on hand to give you all the information you need for removing a tree.
Whilst some small trees can be removed without requiring the expertise of tree surgeons, larger trees should always be left to the professionals for various reasons. Some of these include:
- Your own safety – tree felling comes with many risks and can lead to serious injuries if necessary safety precautions aren’t taken.
- Ensuring there is no damage to natural habitats – large trees in particular can house a wealth of wildlife, so any nests should be moved before felling takes place.

Whilst tree felling is sometimes necessary, due to root growth interfering with buildings, or it becoming damaged or diseased, which makes it’s structure a risk, consider the impact it will have on the aesthetic of your garden, as well as the cover and shade trees bring. If you still wish to go ahead, follow the steps below.
- Sound it out. To make the job easier, knock on different parts of the tree with your hand, at different points and heights. You’re looking for any parts that may sound hollow, which may mean it is dead or diseased, as any solid parts will be live wood, which is more difficult to cut. Using this method, you should find a spot which is easier to cut.
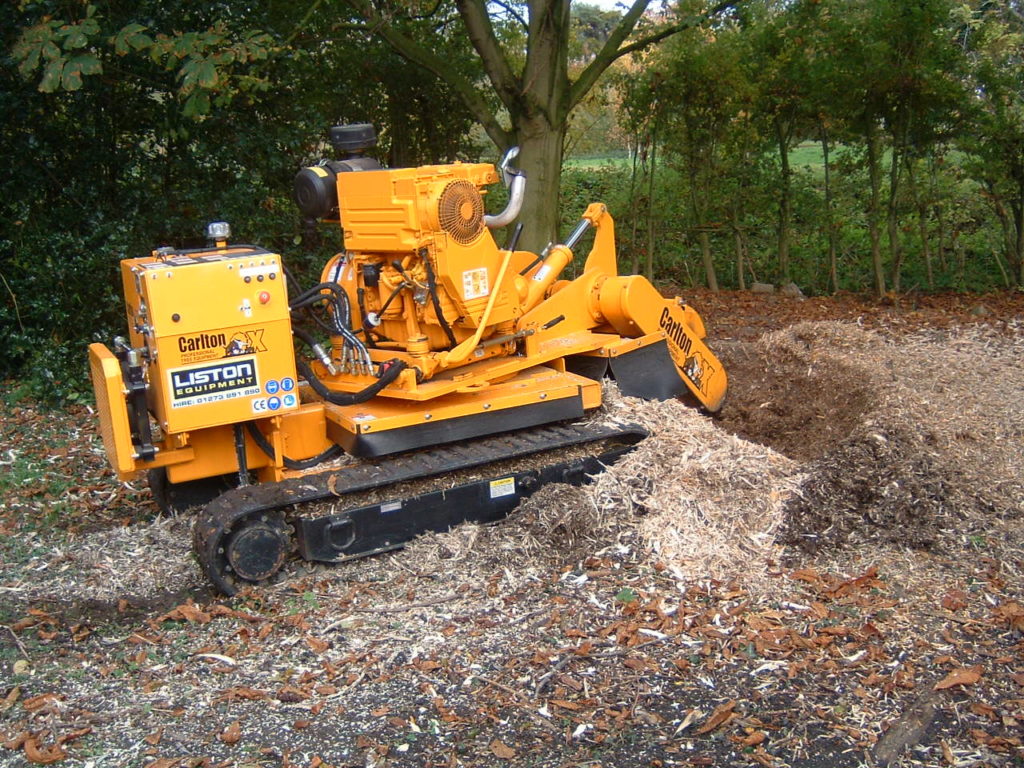
- Figure out where it will fall. Look to see if the tree has a tendency to lean one way or another, as it’s easiest to cut the tree where it would naturally fall. You need to try and choose a spot where the ground is level, otherwise the tree could roll or bounce, causing damage to the surrounding area, as well as injury to yourself. If you need the drop zone to be in a specific place, it’s best to bring in a professional, as specialist machinery may be required.
- Make a horizontal cut. In general, this cut should not be higher than your hip and shouldn’t expand any further than one-third of the way in to the tree. Keep in mind that the tree will fall perpendicularly to this cut.
- Make a wedge cut. Once you have your horizontal cut, you want to make a bigger ‘slice cut’, which should resemble a slice of orange. Whether you make your wedge cut from the bottom or the top of your horizontal cut, put a marking or a stick on the other side of the tree to ensure your wedge cut is straight.
- Make a back cut. The back cut allows you to see how thick your holding wood is, which determines how the tree will fall so you should try to make it as thick as possible. Figure out where you want your back cut to be and then make a marking on the tree – it should be at least 1.5 inches above the horizontal cut for the best results. Before you make the cut, put a wedge in place to prevent the tree from settling onto the chainsaw.
- Be ready. As your back cut is completed, you should end up with an even holding wood. Either that or the tree will begin to fall. If there is no sign of movement keep making more wedges as necessary and be ready to run at any moment.
- Run. Once you see any sign of movement you need to use your pre-determined escape route to move safely out the way. Make sure you never turn your back on the tree and keep your eye on it at all times to minimise any chance of injury.

There you have it, how to cut down a tree in seven simple steps. Whilst we may have made it seem easy, felling a tree can be trickier than you think and does come with many risks. If in doubt, or if you don’t have the correct equipment, call Rock Tree Surgeons today for friendly advice and professional expertise.

Pingback: What is a Tree Surgeon? | Rock Tree Surgeons
Pingback: What is a TPO? | Rock Tree Surgeons